Basing & Transport of 15mm Wargaming Miniatures
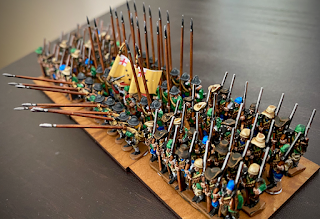
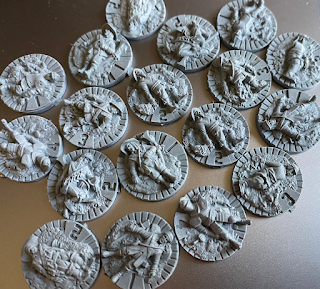
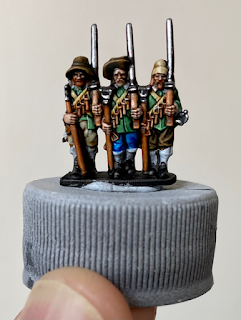
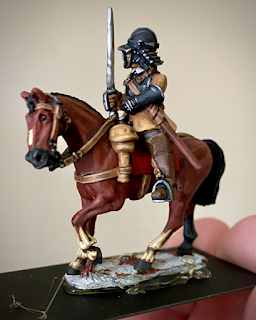
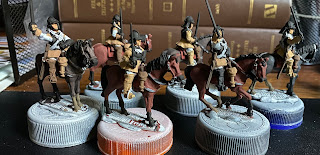
Last year's Historicon game of For King & Parliament's English Civil War Battle of Montgomery posed many new challenges for me. One of them was basing. With FK&P I could base my Steel Fist and Warlord figures in any manner of my choosing to fit on the game mat's 15mm grid... and this lead to an inordinate amount of planning, scheming, and second-guessing. English Civil War 15mm Bases I opted for basing with Warbases UK's 2mm MDF metric rectangles and circles. I put one or two 5mm magnet holes in each base. Pike & Shotte Infantry – 45x45mm bases arranged 3 across making a 135mm unit frontage and 45mm deep Pike Heavy Infantry – same 45mm depth; middle pike 65mm wide and two flanking shotte 35mm wide for a total frontage of 135mm Commanded Shotte – 50mm wide x 35mm deep arranged 2x2 for a unit frontage of 100m and depth of 70mm Cavalry – 50mm wide x 30mm deep arranged 2x2 for a unit frontage of 100m and depth of 60mm Gallant Gentleman –...